
Introduction
Custom dirt bike graphics play a crucial role in the world of motorcycle personalization, allowing riders to express their unique style and enhance the overall aesthetic of their machines. Whether you’re a seasoned racer or a casual enthusiast, the ability to customize your dirt bike with vibrant graphics not only improves its visual appeal but also gives it a distinct identity on the track or trail. In this article, we will explore the various aspects of creating your own dirt bike graphics, including design options, printing techniques, and tips for installation. We will also highlight how you can find inspiration by browsing collections like MOTOGRAPICS’ bike graphics that cater to different bike models and personal tastes. Embrace your individuality and let your bike stand out with a personalized touch that showcases who you are as a rider.
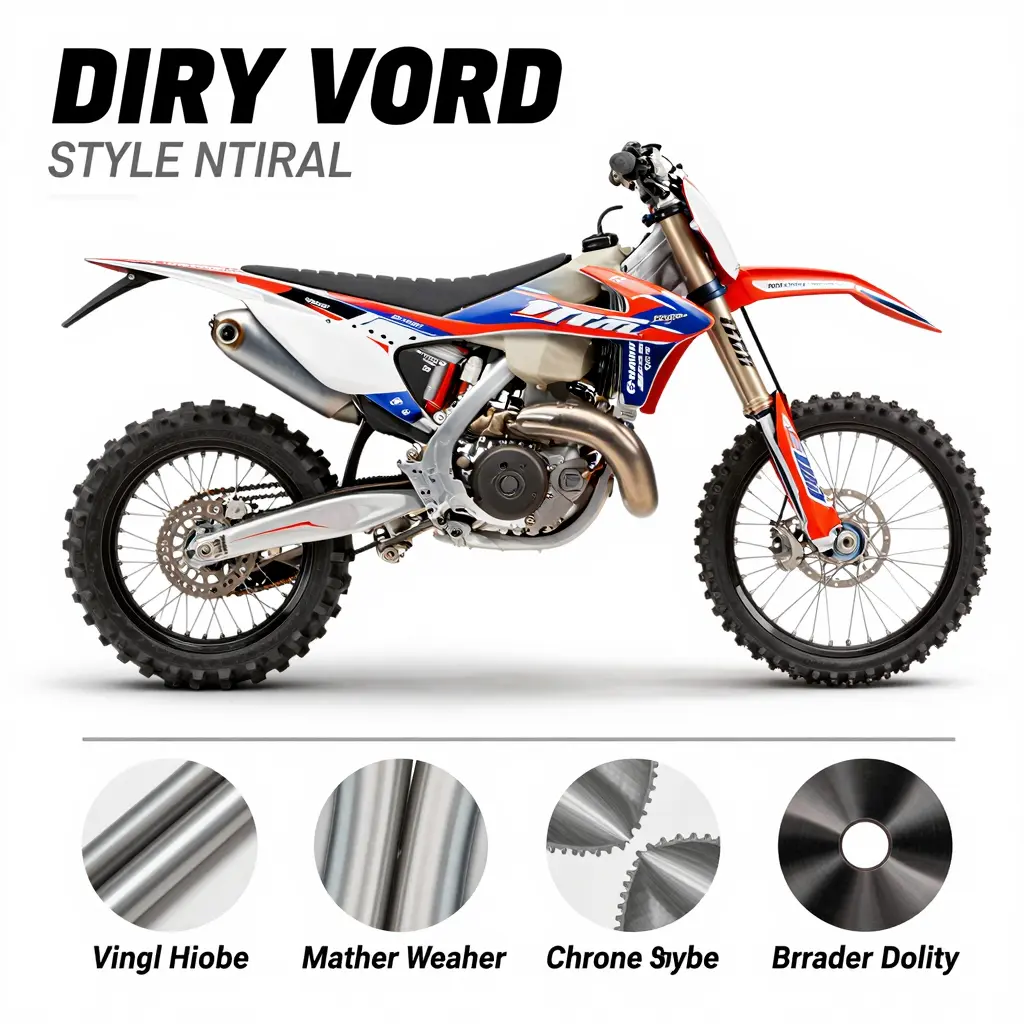
Materials Used for Dirt Bike Graphics
Creating visually appealing and durable dirt bike graphics requires an understanding of the materials involved. Here’s a breakdown of common materials used in dirt bike graphics, focusing on their benefits and durability features.
Vinyl
- Durability: Vinyl is the most popular choice for dirt bike graphics, known for its good weather resistance. It can withstand UV rays, rain, and dirt, making it a reliable option for outdoor use.
- Scratch Resistance: Offers moderate protection against scratches, but it can wear down over time with heavy use.
- Design Flexibility: Available in various colors and finishes, allowing for customization to reflect rider personality.
- Durability Benefits: While vinyl is durable, it may peel or scratch under extreme conditions, and is more prone to fading compared to premium options. Learn more about our vinyl graphics selections here.
Chrome
- Visual Impact: Chrome graphics deliver a striking reflective appearance that stands out.
- Scratch Resistance: Generally offers low scratch resistance and can be more vulnerable than traditional vinyl.
- Weather Durability: Moderately durable against the elements, but the reflective surface can be compromised under harsh conditions.
- Durability Benefits: While visually appealing, chrome can be less practical due to its susceptibility to scratches. If you’re considering chrome graphics, check our selections here.
Holo Vinyl
- Visual Effects: Holo vinyl provides a unique holographic effect that catches the eye and adds unique style to dirt bikes.
- Scratch Resistance: High scratch resistance, making it ideal for high-impact environments.
- Weather Durability: Excellent performance against various weather conditions, ensuring longevity even in harsh environments.
- Durability Benefits: Offers superior durability compared to standard vinyl and chrome, making it a solid choice for avid riders looking for both style and longevity in their graphics.
Conclusion
When choosing materials for dirt bike graphics, consider the balance between visual appeal and practicality. Each material has unique properties that may suit different types of riding styles and environments. Explore various graphic options available to enhance your bike’s look while ensuring a durable ride!
For comprehensive selections of materials, visit our specialized product categories, like Motocross Graphics or Performance Custom Graphics.
Popular Graphic Design Software for Creating Dirt Bike Graphics
Creating stunning dirt bike graphics requires the right software. Here’s a look at some popular graphic design software options to elevate your designs:
1. CorelDRAW
- Website: CorelDRAW
- CorelDRAW is a renowned graphic design software known for its powerful vector illustration capabilities.
- Key Features:
- User-friendly interface, making it accessible for beginners and experts alike.
- Extensive vector editing tools that enable precise designs.
- Support for various file formats, ensuring compatibility with other design software.
- Extensive online resources, templates, and tutorials available.
2. Motocal
- Website: Motocal
- This platform specializes in creating custom graphics for motorsports, tailored specifically for various motorcycle models.
- Key Features:
- Allows users to design and customize their graphics online.
- High-quality and durable vinyl materials for long-lasting graphics.
- Quick proofs and same-day production available to meet tight deadlines.
3. Fotor
- Website: Fotor
- Fotor is a versatile online graphic design tool that supports a broad range of design needs.
- Key Features:
- A vast library of templates and design elements that can be adapted for motorcycle graphics.
- Easy-to-use drag-and-drop interface.
- Features for social media graphics, marketing materials, and other custom projects.
4. OMXGraphics
- Website: OMXGraphics
- Known for providing custom dirt bike graphics kits, OMXGraphics stands out for its customer service and quality.
- Key Features:
- Free design proof and unlimited revisions to ensure customer satisfaction.
- High-quality graphics suited for dirt bike aesthetics and various models.
- Fast shipping and competitive pricing, making it accessible for many users.
5. GraphicRiver
- Website: GraphicRiver
- This marketplace hosts an expansive library of motorbike graphics and templates for designers.
- Key Features:
- Access to over 1,300 motorcycle graphics, which can serve as inspiration or a base for your designs.
- Ability to purchase single designs or bundles, accommodating various budget levels.
- Community-driven platform with reviews and ratings to guide your selections.
These graphic design software options cater to both beginners and professional designers, providing the necessary tools to create eye-catching dirt bike graphics that stand out on the track. To explore ready-made graphics for your bike, check out our selections here.
Comparison Table of Graphic Printing Options
When it comes to creating custom dirt bike graphics, choosing the right printing option is crucial. Here’s a comparison of various graphic printing methods to help you decide based on cost, quality, and turnaround time:
| Printing Option | Cost | Quality | Turnaround |
|---|---|---|---|
| Screen Printing | Low for bulk orders | High | Moderate |
| Direct to Garment (DTG) | Medium for small orders | Very High | Quick |
| Offset Printing | Lower per unit for large runs | Excellent for graphics | Longer |
| Digital Printing | Higher for low runs | Good | Fast |
| Print on Demand | Higher initial costs | Variable | Very Quick |
Visual Representation
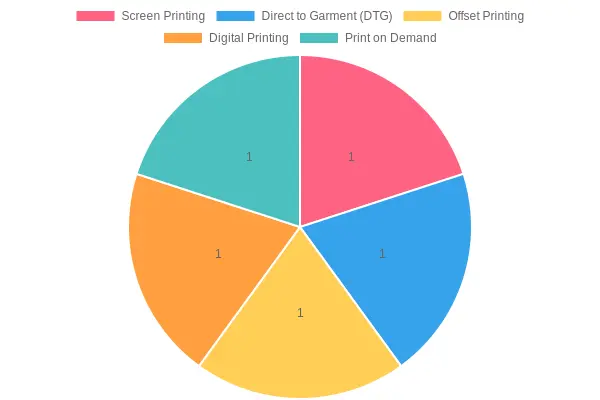
The chart visually shows the distribution of printing options available, providing a quick overview of what suits your needs best. For more details on specific graphic options, you can check out the following:
A Step-by-Step Guide to Designing Custom Dirt Bike Graphics
Designing custom graphics for dirt bikes is not only a fun way to express your personality but also a fantastic way to stand out on the track or trail. Below is a comprehensive guide that outlines the entire process from conception to the final look, ensuring your bike is as unique as you are.
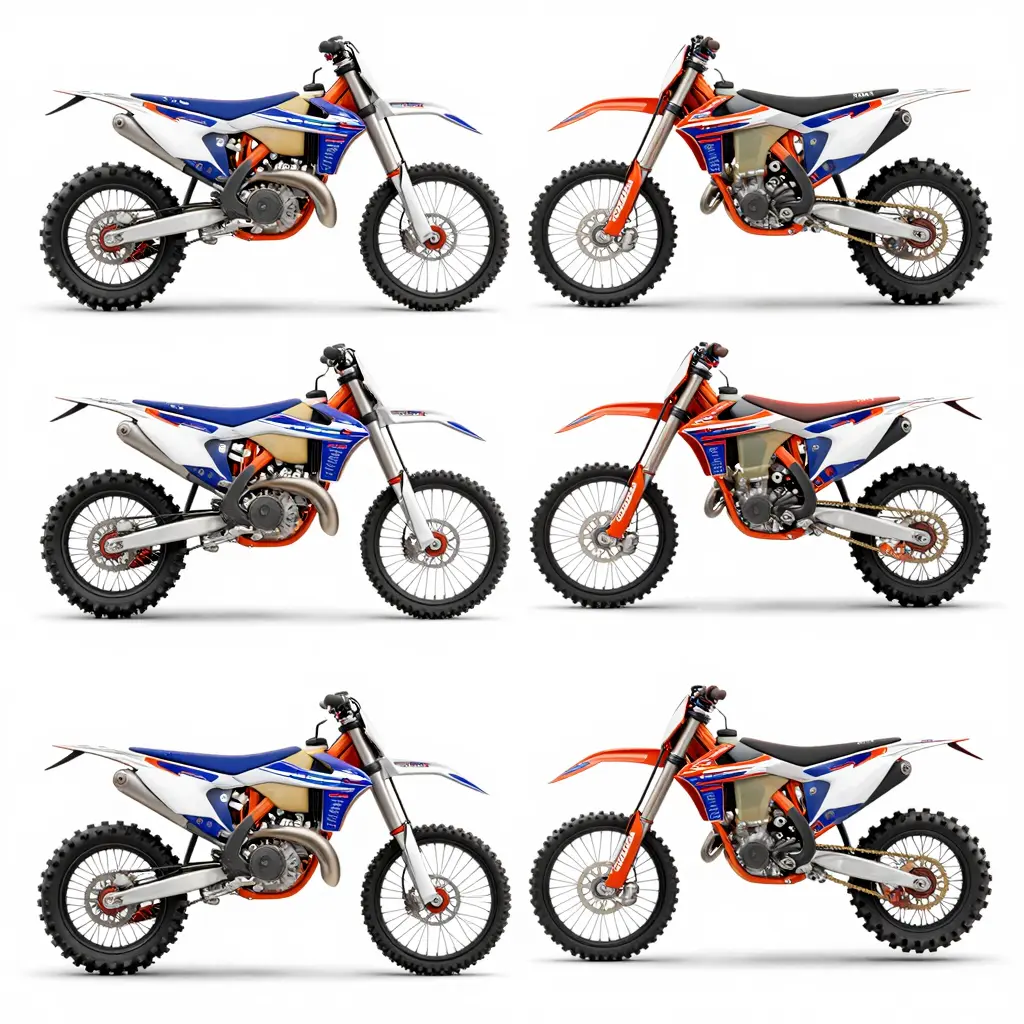
Step 1: Brainstorm Ideas
- Gather Inspiration: Start by looking at existing graphics online. Websites like OMXGraphics and Backyard Design USA showcase a variety of options.
- Consider Themes and Colors: Think about what you want your graphics to communicate. Are you going for a bold and aggressive look, or something more classic and understated? Color schemes can greatly affect the overall appeal.
- List Elements: Jot down the essential design elements such as logos, numbers, or team names that should be included in your design.
Step 2: Sketch Designs
- Draw Rough Concepts: With your inspiration gathered, start sketching a few rough ideas on paper. This doesn’t have to be perfect! Just get your thoughts on the page.
- Select Key Features: Decide which elements from your sketches work best, combining them into a more coherent design.
- Feedback Loop: Share your sketches with friends, fellow bikers, or online communities for feedback.
Step 3: Digitalizing the Graphics
- Choose Design Software: Use graphic design software such as Adobe Illustrator or free alternatives like GIMP or Inkscape to create your digital design.
- Transfer Your Sketch: Import your sketches into the software and start tracing over them with vector tools to create crisp lines and designs.
- Experiment with Colors: Play around with different color combinations to see what fits best with your desired theme. Remember to keep a consistent brand identity if applicable.
- Add Text Elements: Utilize typography to add names, numbers, or slogans that complement the overall design. Choose fonts that are legible even at a distance.
Step 4: Review and Refine
- Get Feedback Again: Once you have a digital rendition, seek input from others again. Additional perspectives can highlight aspects that might need improvement.
- Make Necessary Adjustments: Fine-tune the design based on the feedback received. Focus on ensuring visibility and aesthetic appeal.
- Prepare Your Graphics for Print: Make sure your design meets the specifications required by your print shop, usually in vector format for high quality.
Step 5: Printing the Graphics
- Select Quality Material: Choose durable materials that can withstand wear and tear, such as vinyl. Research printing companies that specialize in bike graphics to ensure quality and durability.
- Request Sample Prints: If possible, request a sample print to assess color fidelity and material quality before finalizing your order.
- Order Your Graphics: Once satisfied, place your order!
Step 6: Applying the Graphics
- Prep the Bike: Clean the surface of your bike thoroughly to ensure the graphics adhere correctly. Use rubbing alcohol to remove any grease or dirt.
- Application Process: Follow the application instructions carefully, usually starting from one edge and smoothing it down to prevent bubbles. Learn more about the installation process.
- Final Touches: Trim any excess from the edges and carefully check that all parts are adhered smoothly.
Current Trends in Dirt Bike Graphics
The world of dirt bike graphics is always evolving. Here are some of the latest trends observed in 2023-2024:
- Personalization: There’s a significant shift towards personalized graphics that reflect individual styles and identities. Custom shops like DirtBikeFix offer tailored solutions.
- Bold Patterns and Colors: Bright, vibrant colors paired with aggressive graphics are trending, appealing to younger riders looking to make a statement.
- Eco-friendly Options: Some companies are starting to offer eco-friendly printing options using sustainable materials.
- Incorporation of Technology: More designs are featuring QR codes or NFC chips embedded into the graphics, enhancing the interactive experience.

By following these steps and staying in tune with current trends, you can create dirt bike graphics that not only enhance the look of your bike but also showcase your unique style. Happy designing!
User Feedback on Dirt Bike Graphics Quality
When it comes to dirt bike graphics, user feedback often emphasizes the importance of quality, durability, and aesthetics. Many customers report positive experiences with companies that offer custom graphics kits, such as OMX Graphics and Backyard Design USA. Users frequently highlight these aspects:
- Durability: Many riders express satisfaction with the longevity of the graphics, as they withstand harsh riding conditions and environmental factors. Graphics made from high-quality vinyl are noted for their scratch resistance and ability to endure wear and tear from regular use.
- Customization Options: Personalization is a recurring theme in reviews, with many customers appreciating the flexibility to design graphics that reflect their personal style or brand. Reviews often mention how easy it is to use design tools provided by these companies to create ideal graphics that enhance the bike’s appearance.
In terms of installation, users typically report that the application process is straightforward, noting that well-designed kits come with clear instructions and requirements for successful placement. Additionally, prompt customer service and quick shipping are often highlighted as key factors in customer satisfaction. Companies like Rival Ink and Motocal are praised for their reliable service and commitment to ensuring that customers receive high-quality products that match their expectations. Meanwhile, discussions on forums such as ThumperTalk reveal that community members actively share recommendations regarding which brands maintain the best quality while also offering unique graphic designs.
Overall, the consensus points towards a strong demand for durable, aesthetically pleasing, and customizable dirt bike graphics. Such attributes are essential not only for enhancing the visual appeal of the bike but also for protecting it from damage, ensuring that investments in these graphics yield long-lasting performance and satisfaction.
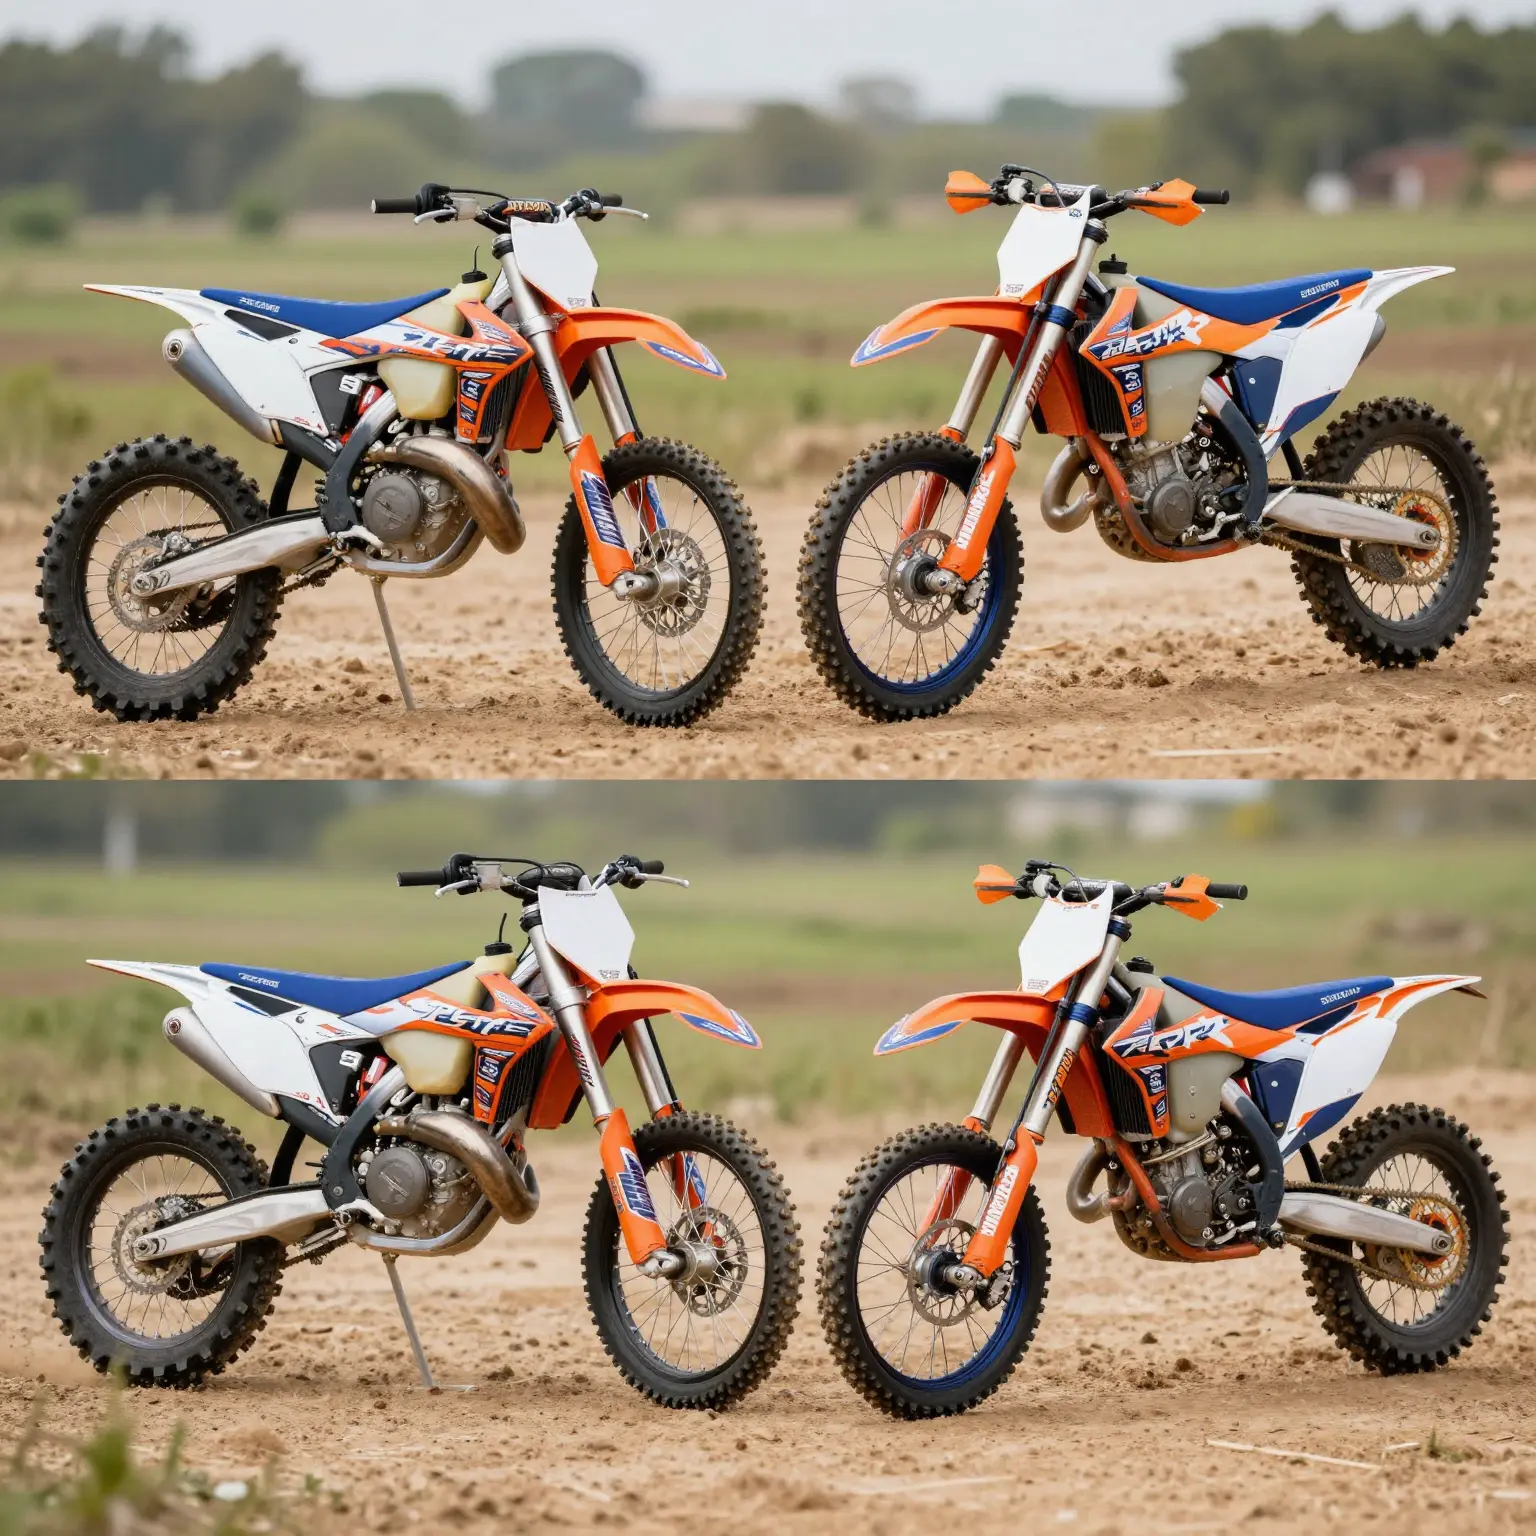
For anyone considering updating their dirt bike’s look, exploring options through OMX Graphics or Backyard Design USA could provide valuable insights into what users are experiencing and the high-quality products available.
“I recently used the custom graphics service from OMXGraphics, and I couldn’t be happier with the results! The graphics look stunning, and the entire process was smooth and efficient. They listened to my suggestions and made quick adjustments to the design. Highly recommend!”
- Anthony, Satisfied Customer
Best Practices for Applying Graphics to Dirt Bikes
Applying graphics to your dirt bike is not just about aesthetics; it’s also about preserving the bike’s surface and enhancing its longevity against the elements. Here’s a comprehensive guide on the preparation steps and application tips to ensure a successful graphic application.
Preparation Steps
- Clean the Surface Thoroughly
Cleaning your bike is arguably the most crucial part of the process. Use a gentle cleanser and ensure that you remove any dirt, grease, and old adhesive residues.
- Recommended Cleaning Agents: Isopropyl alcohol is ideal for cleaning dirt bike plastics as it evaporates quickly and leaves no residue. Learn more about effective cleaning methods here.
- Dry Completely: After cleaning, let the bike dry completely before applying graphics to avoid trapping moisture.
- Remove Old Graphics
If you are replacing old graphics, take the time to remove them properly. If not removed carefully, remnants can cause new graphics to bubble or peel.
- Heat Application: Use a heat gun on low settings to help loosen the adhesive on old graphics, making removal easier.
- Verify Compatibility
Ensure your new graphics are compatible with the bike’s plastic. Check the dimensions and design against current graphics or bare plastics to ensure a good fit.
Application Tips
-
Work in a Suitable Environment
Choose a clean, dust-free environment and ensure the temperature is moderate; extreme cold or heat can affect how the adhesive works. -
Application Techniques
You can choose between a dry or wet application method depending on your comfort level and the specifics of your graphics:
- Dry Method: This is best for single-piece graphics. Be careful and align before pressing the sticker down. Use a squeegee to smooth out the graphic and remove bubbles.
- Wet Method: Spray a light mist of soapy water on the plastic before placing the graphic. This allows for repositioning, but make sure the adhesive can set properly afterward.
- Edge Pressure: After applying a graphic, use a heat gun to apply firm pressure on the edges to set the adhesion. It helps to keep graphics from lifting and allows them to conform better to the bike’s surface.
- Curing Time
Allow the graphics to sit undisturbed for at least 24-48 hours to ensure proper adhesion. Avoid washing or exposing the bike to rain during this time.
- Post-Application Heat: After the curing period, reapply heat to the edges for final securement.
- Final Inspection
After everything is set, inspect the graphics for any bubbles or misalignments. Gently push them out with a squeegee or needle if necessary.
Applying graphics correctly can significantly elevate the appearance of your dirt bike while protecting it in the long run. With the proper steps and techniques, you’re assured of a professional-looking finish. For more types of dirt bike graphics, explore our selection of premium graphics here.
Conclusion
Following these best practices when applying graphics to your dirt bike will contribute drastically to their longevity and aesthetic value. So grab your graphics kit, choose a convenient time to get started, and enjoy the results of your hard work!
Maintaining Graphics Longevity
Custom dirt bike graphics are an essential part of your bike’s style and identity, but they require proper care to keep them looking fresh and vibrant. By following the right maintenance practices, you can prolong the life of your graphics and ensure they withstand the rigors of dirt biking.
Cleaning Tips
Regular cleaning is crucial for maintaining the appearance of your graphics. Here are some effective cleaning tips:
- Use Mild Cleaners: Opt for biodegradable motorcycle cleaners that effectively tackle dirt and oil stains without being overly harsh on the graphics. Products recommended include those from Muc-Off and other specialized motorcycle cleaning brands.
- Soft Cloth Application: When cleaning, always use a soft cloth or sponge to gently wipe the graphics. Avoid using abrasive materials that can scratch or damage the surface.
- Avoid High Pressure: When rinsing off detergent, avoid using high-pressure washers as they can lift the edges of the vinyl. Instead, use a gentle spray of water to rinse your bike.
- Drying: Pat down the graphics with a soft towel after washing. Avoid blow drying or exposing them to direct sunlight as it can warp the graphics.
Storage Recommendations
In addition to cleaning, proper storage can significantly contribute to the longevity of your dirt bike graphics:
- Indoor Storage: Whenever possible, store your dirt bike indoors, away from harsh weather conditions such as direct sunlight and excessive moisture. This can prevent fading and peeling.
- Temperature Control: If you are storing your bike for an extended period, ensure the storage area is climate-controlled, protecting the graphics from extreme temperature fluctuations that can cause the adhesive to weaken.
- Cover Your Bike: If storing outdoors, use a motorcycle cover made from breathable material. This helps protect your graphics from dirt, debris, and UV rays while allowing ventilation.
By combining these cleaning tips with proper storage recommendations, you can maintain the vibrant look of your custom dirt bike graphics for many rides to come. For more options regarding high-quality graphics, check out MOTOGRAPICS’ range of dirt bike graphics kits that are built to last!
Taking care of your graphics not only enhances your bike’s appearance but also signals to others that you value quality and maintenance, which can lead to better experiences on and off the track.
In conclusion, creating customized graphics for your dirt bike is not just a way to enhance its aesthetic appeal; it also reflects your personal style and can set your bike apart from the crowd. Throughout this article, we explored the essential tools and materials needed for the task, as well as step-by-step instructions that make the process approachable for everyone, from novice riders to seasoned motorcycle technicians.
Choosing the right graphics can truly transform the look of your bike, and with various designs available, there’s something for every rider’s taste. We encourage you to explore the diverse customization options available at MotoGraphics, where you can find an array of dirt bike graphics that resonate with your personal flair.
So why not take the leap and start customizing your dirt bike today? Unleash your creativity and make your bike a true reflection of your riding spirit. Visit our website now to explore our extensive collection of dirt bike graphics!